FoneDog Screen Recorder
FoneDog Screen Recorder
Special Offer
Special Offer


Step 1. Download, install, and run FoneDog Screen Recorder on your Windows or Mac computer. Then, a pop-up window with the differences between the free trial and the registered version will show up. You can close the pop-up window to enjoy the free trial first.
Step 2. If you want to enjoy the full features, simply click "Buy Now" to get a license to unlock all restrictions. You will receive an email with your registration code and order details right after you purchase a license.
Tip: You can click "Unregistered" at the top right of the interface to view the registration window.
Step 3. Then, go back to the software and enter your Email Address and Registration Code (equal to the License Key) into the corresponding columns and then click "Register".
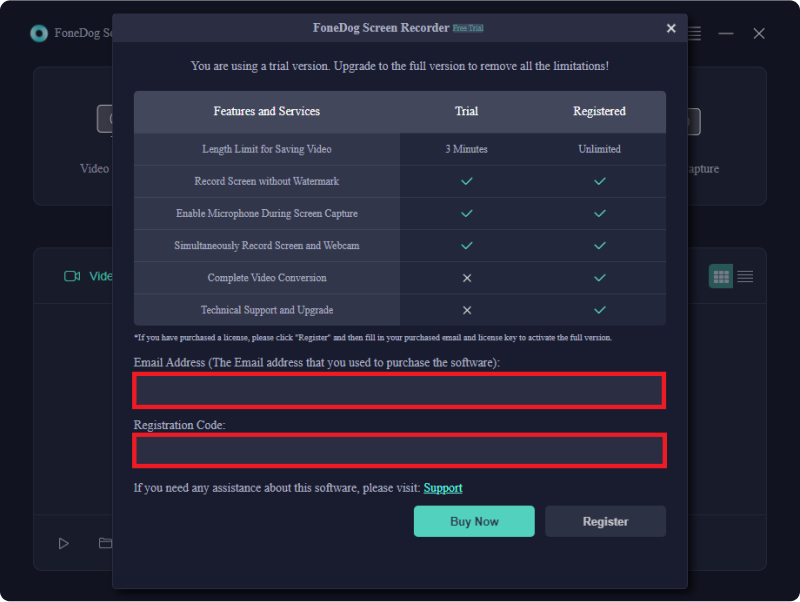
Note: Please use the email address you filled in when purchasing the license.
Now, you have successfully removed all the restrictions and can start enjoying the full features.
Customize Settings
Before recording a video or audio, you can customize the general settings of the recordings first.
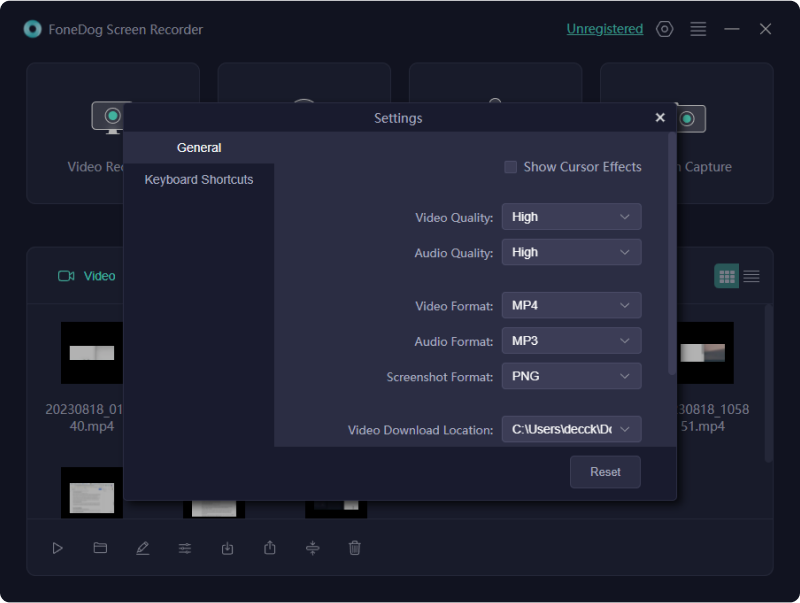
1. General Settings
Check or uncheck the box next to "Show Cursor Effects" to choose whether to show the cursor movements and effects during recording.
You can adjust the output setting from General Settings to meet your needs:
Video Quality/Audio Quality: High, Middle, or Low.
Video Format: MP4, MOV, M4V, or GIF.
Audio Format: MP3, M4V, WMA, CAF, FLAC, OGG, or OPUS.
Screenshot Format: PNG or JPEG.
You can also choose the Download Location of the output videos, audios, and screenshots.
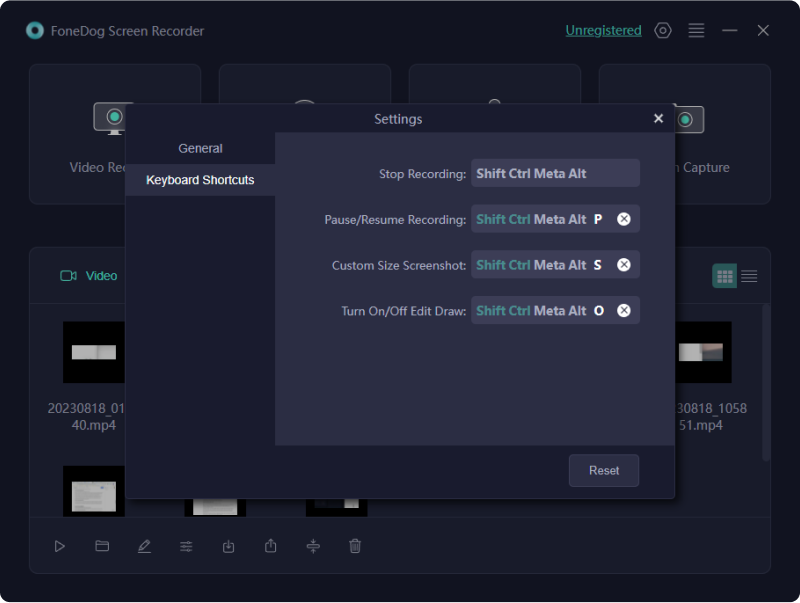
2. Keyboard Shortcuts
The software has several shortcut keys to help users perform some simple operations. Check out the default keyboard shortcuts from “Keyboard Shortcuts”. You can also edit them to set your own shortcuts.
How to Record Screen
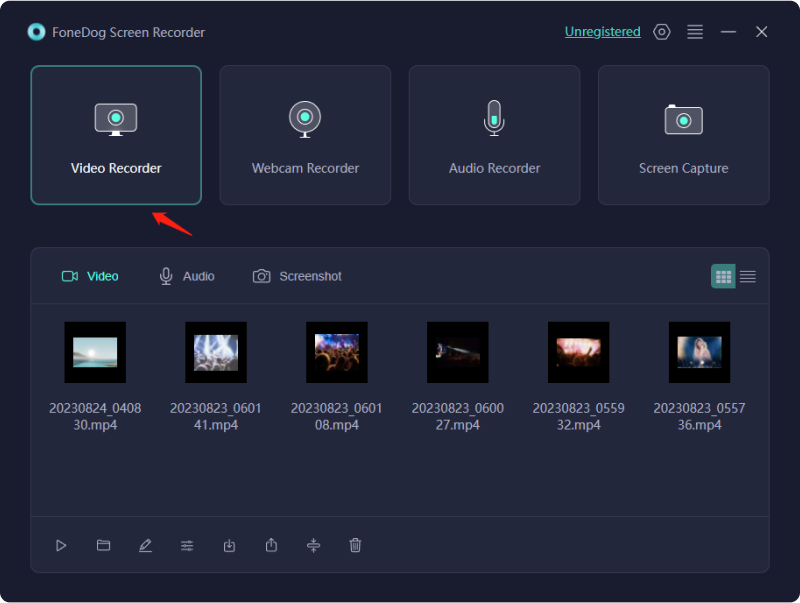
Step 1. Launch the software and choose Video Recorder
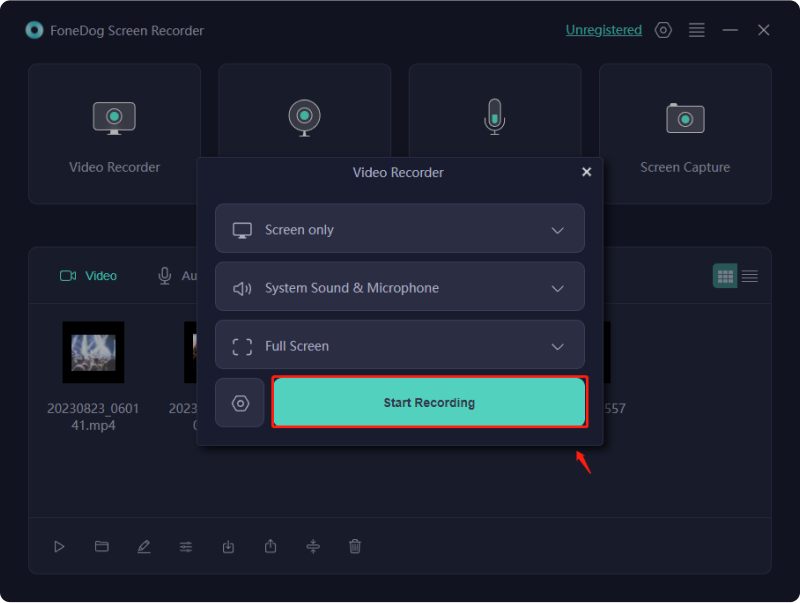
Launch FoneDog Screen Recorder on your computer. From the main interface, click "Video Recorder".
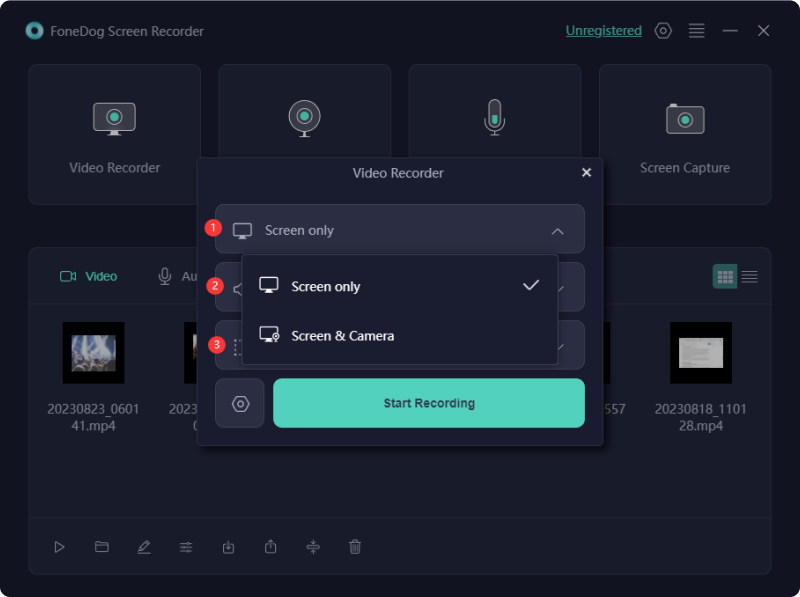
Step 2. Customize the Recording Area
You can record only the screen by choosing "Screen Only" or record the screen and the web camera at the same time by tapping "Screen & Camera".
Tip: When you choose "Screen & Camera", the program will detect your webcam. If you don't see your webcam, click "Recheck" to try again.
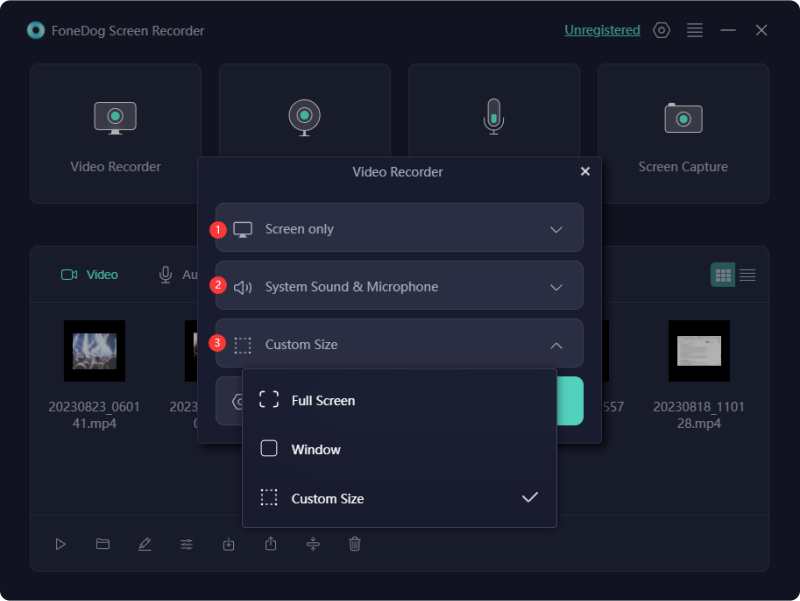
Then, click to select the recording area: Full Screen, Window, or Custom Size.
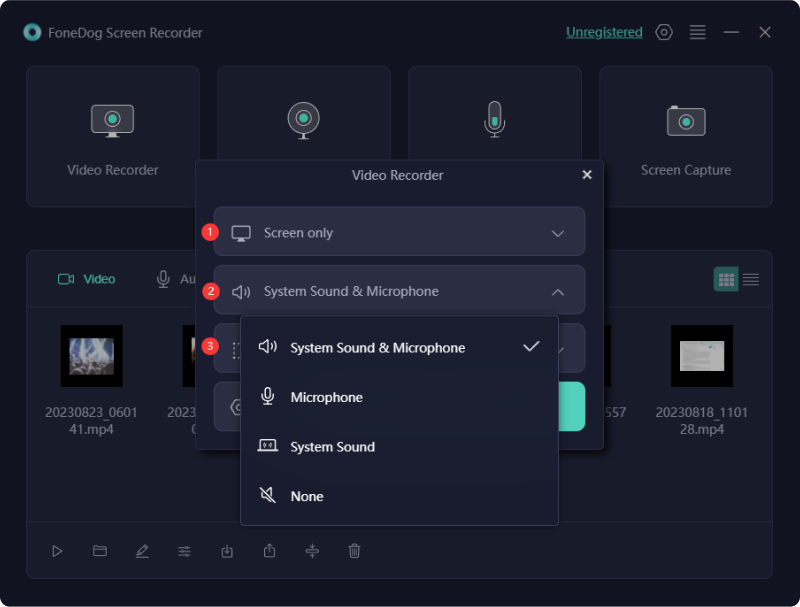
Step 3. Adjust Audio Settings
Then you need to choose whether to record sound or not. Click "System Sound & Microphone" to record the sounds from the system and microphone at the same time. You can also click "Microphone" or "System Sound" to record only one sound.
If you don't want to record any sounds, simply choose "None".
Step 4. Start Recording Screen
Now, click “Start Recording” to start capturing your screen.
Tip: If you choose "Window" as the recording area, a window will pop up and you can see several windows of programs. Simply click on your desired window, and then the software will automatically detect the window.
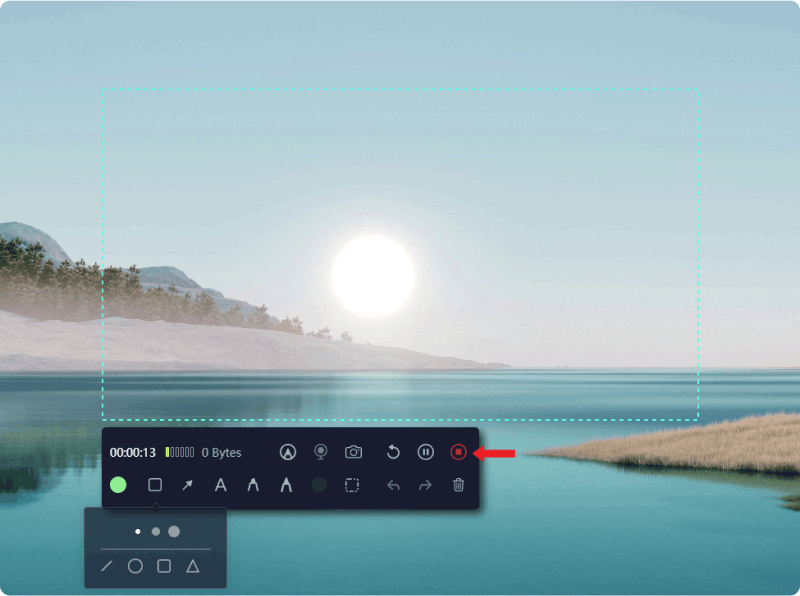
During the recording, you will see a floating toolbar with annotation tools and some other buttons.
Click the Edit button and you will be able to select the color you want your annotations to be and use those annotation tools such as line, circle, rectangle, triangle, arrow, text, brush, and eraser. There are also Undo, Redo, and Clean buttons to make the annotation easier.
Aside from the annotation tools, there are buttons for turning on the webcam or taking screenshots during recording.

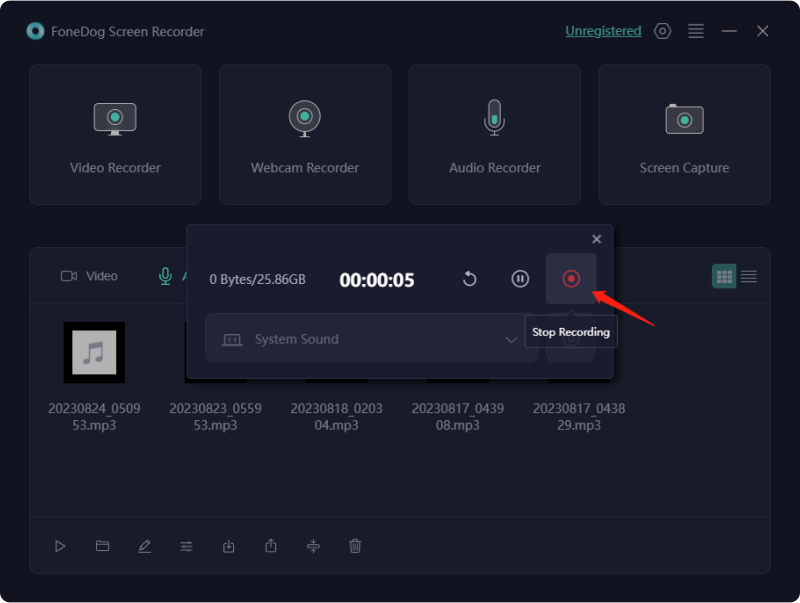
Step 5. Stop Recording Screen
Press the red stop button to end the recording. After that, the recording file will be saved to your computer.
If you just want to pause the recording, you can click the "Pause" button and click it again when you are ready to resume. You can also click the "Restart" button to erase the previous recording and start over.
How to Record Webcam
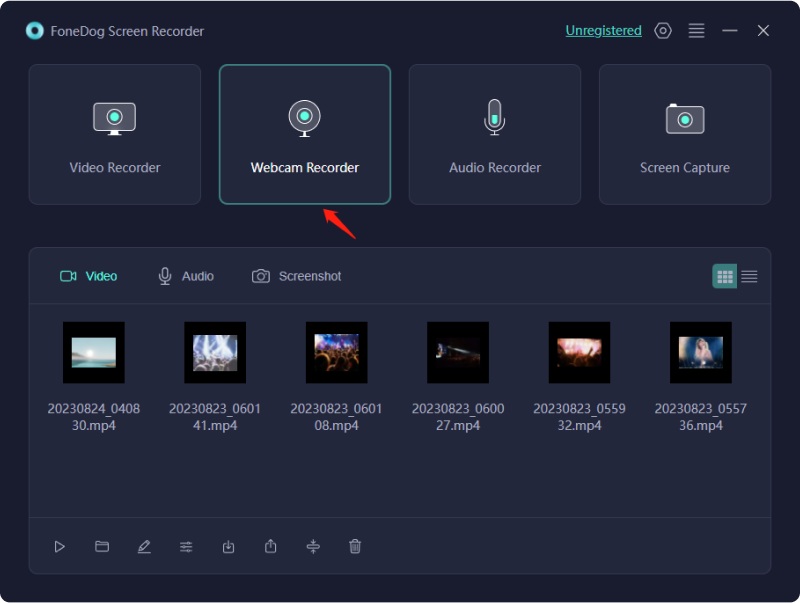
Step 1. Run the software and choose Webcam Recorder.
Launch FoneDog Screen Recorder on your computer. Then, click "Webcam Recorder" from the main interface.
Step 2. Customize the Audio Settings
Choose "System Sound & Microphone" to simultaneously record sounds from the system and microphone. You can also select "Microphone" or "System Sound" if you want to record one sound.
If you want to record the webcam without sound, simply choose "None".
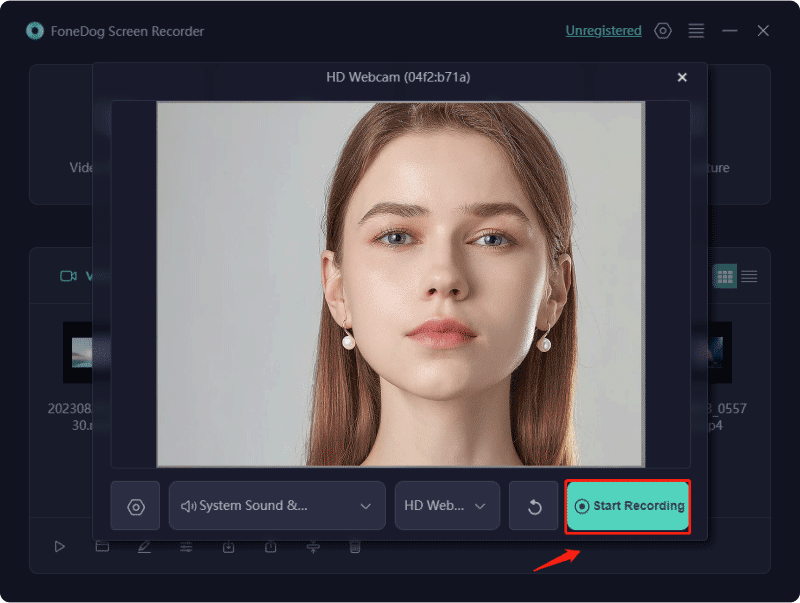
Then, select your webcam. If you don't see your webcam, click "Recheck" to detect it again.
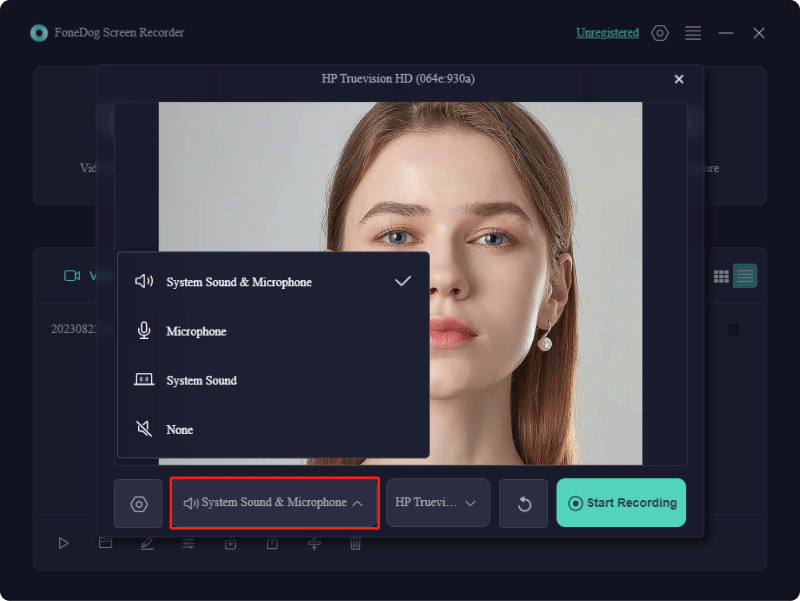
Step 3. Start Recording Webcam
When you finish the customized settings, click "Start Recording".
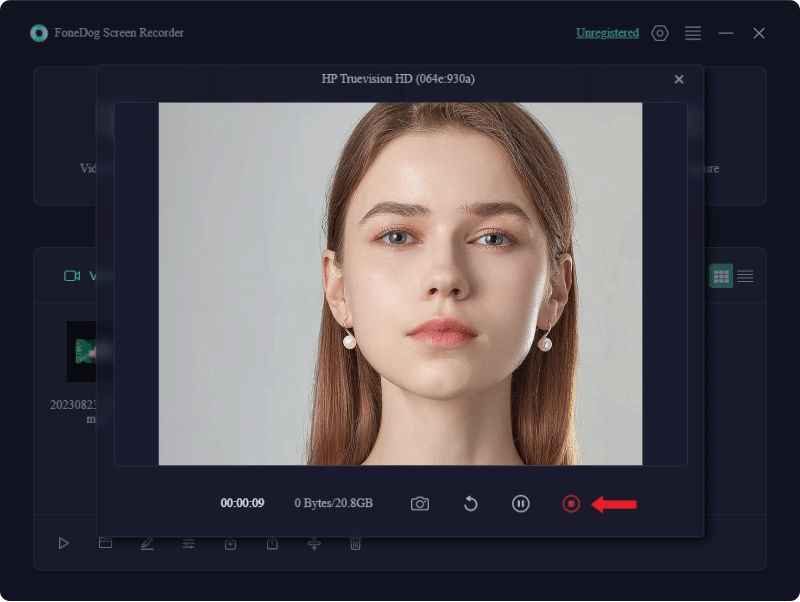
There's a setting panel in the bottom right part of the recording window. You can take screenshots during recording by clicking the button in the shape of a camera.
Step 4. Stop Recording Webcam
Click the red stop button to stop recording. There are also buttons to Restart or Pause recording.
How to Record Audio
Step 1. Run the Software and Choose Audio Recorder
Click "Audio Recorder" from the main interface of the FoneDog Screen Recorder.

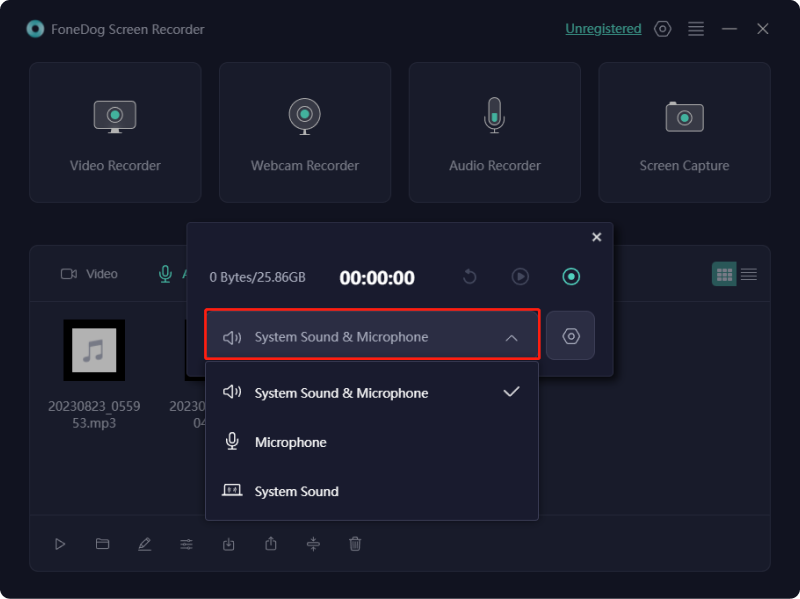
Step 2. Customize Audio Settings
Select "System Sound & Microphone" to record sounds from the system and microphone at the same time. To record only one sound, choose "Microphone" or "System Sound".
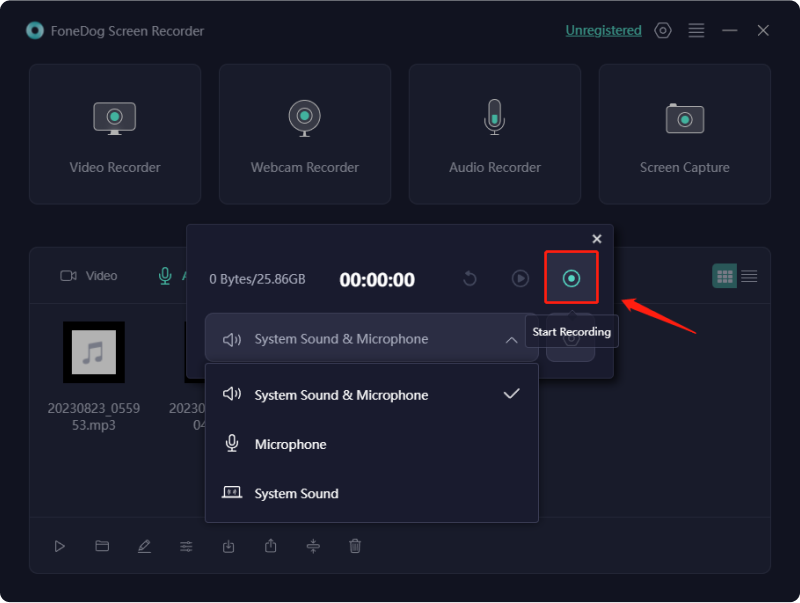
Step 3. Start Recording Audio
Click the green button on the right side to start recording.
Step 4. Stop Recording Audio
Press the red stop button to finish recording. You can also click the "Pause" button and then click the same button again when you are ready to continue recording. If you click the "Restart" button, the previous recording will be cleared and the software will start recording again.
How to Take Screenshots
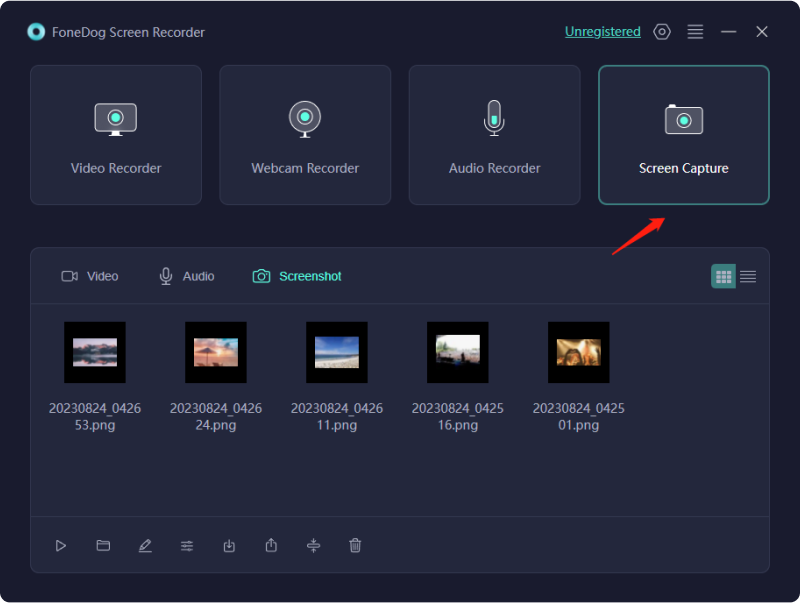
Step 1. Launch the Software and Choose Screen Capture
From the main interface of the software, click "Screen Capture".
Step 2. Select Capture Area
Click "Custom Size". After that, hold down the left mouse button and then drag the cursor to select an area. When you release the left mouse button, a panel with editing tools will show up.

Step 3. Complete Screen Capture
Simply click the check mark to complete the screenshot. Then, the screenshot will then be automatically saved on your computer.
If you want to copy the screenshot to the click board and save it at the same time, click the copy button instead of clicking the check mark. You can also click the "Cancel" button to clear the screenshot and take another one.
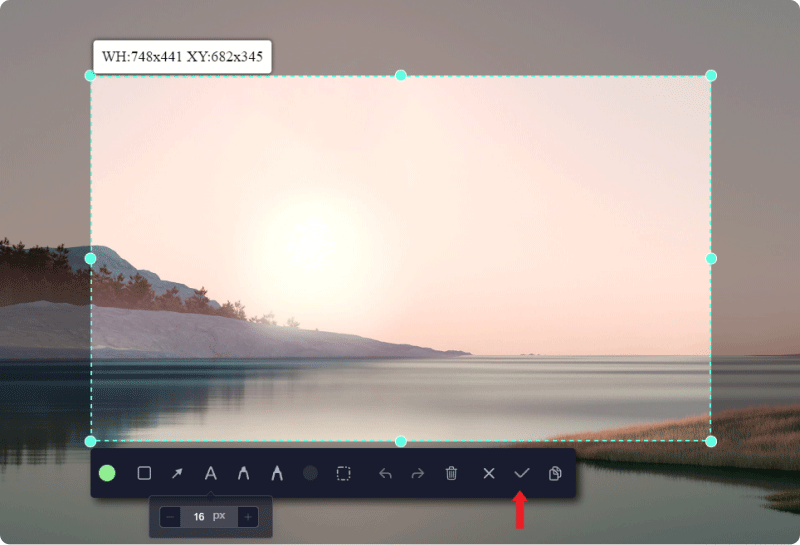
You can edit the screenshot before saving it. There are several annotation tools to use, such as line, circle, rectangle, triangle, arrow, text, brush, and eraser. You can choose the color of the annotations. If you need to select multiple annotations to move or delete at the same time, click the dotted square icon and hold down the left mouse to drag an area containing the annotations, then release. There are also Undo, Redo, and Clean buttons to make the annotation easier.
How to Edit Recordings
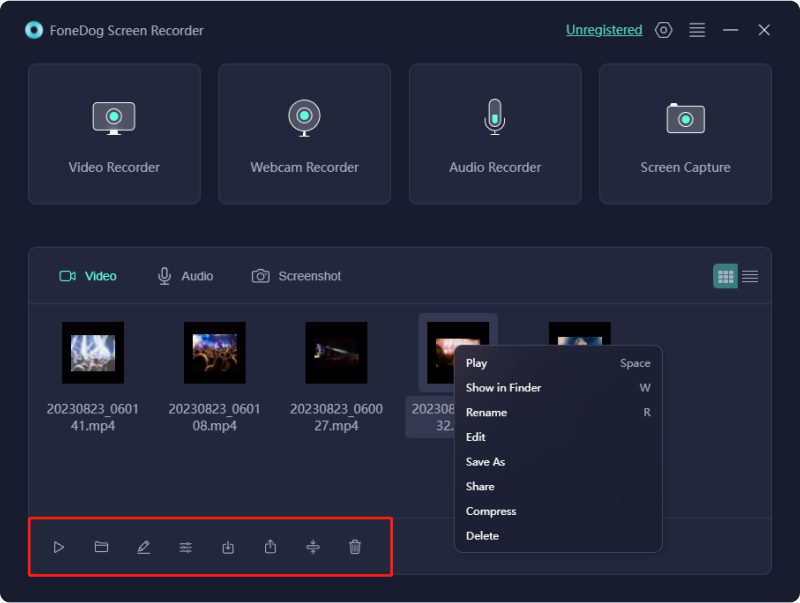
When the recording is complete, you will see your recordings or screenshots on the interface. The saved files are categorized as "Video", "Audio" and "Screenshot".
Below the recording files, there is a panel with some buttons for editing your recordings.
Alternatively, right-click on the recording you want, and choose your desired action in the drop-down box.